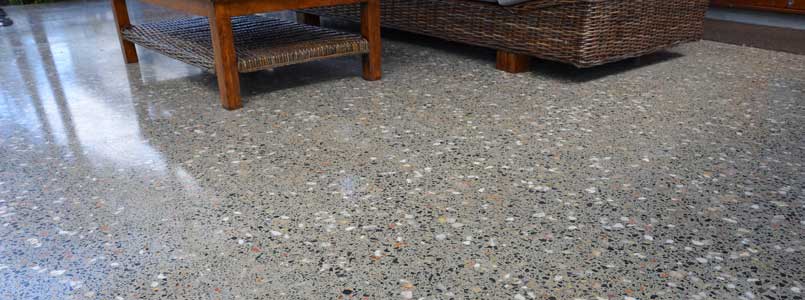
With polished concrete gaining notoriety everywhere from industrial facilities to commercial businesses to residential homes, you may have some questions.
Questions such as, “How do they polish concrete?”
That’s what we’re here to explain! The concrete polishing process is reasonably straightforward, but that doesn’t mean everyone knows how to do it.
To give you a better understanding of what your contractor will be doing if you choose this flooring style, we’ll examine all the concrete polishing steps below. Continue reading to learn more!
The concrete polishing process begins with cleaning your existing concrete floor and then inspecting it for damage. If there is any damage present, it will be repaired before your contractor can move forward with the polishing process.
Damage such as cracks and chipping are the main factors that will need to be addressed. Lighter damage, such as shallow pits or dents, will be ground out in the next step without requiring repairs. The cracks can be repaired with an injectable epoxy filler that prevents the cracks from spreading further. Chipping can be fixed with a concrete patch.
Once the repairs have been made and any leftover mess has been cleaned up, your concrete contractor can move forward with the polishing process.
Step 2: The Rough Grind
After repairs, the rough grind is performed. This involves using a floor grinder fitted with a diamond grinding wheel. This step is usually completed in about three to four passes. In most cases, your contractor will start with a 30- or 40-grit wheel and move up in grit with every pass.
The rough grind will remove any minor blemishes from the floor, such as pits, dents, light stains, or light coatings in preparation for the floor’s fine polishing. After the floor has been ground several times, the next step is to seal the concrete.
Step 3: Sealing the Floor
After the rough grind is finished, your concrete will be sealed using an impregnating sealer. The sealer permeates the surface of the concrete and protects it from the inside out. This sealer not only protects your concrete but also hardens and densifies the concrete.
This removes the need for a topical sealer and helps with routine maintenance. With the sealer in place, your contractor will move on to the fine polishing.
Step 4: Polishing the Concrete
Polishing the concrete is normally a four to five-step process itself. Generally, your contractor will start with a 100- or 200-grit diamond polishing wheel. The floor’s entire surface will be polished, and then the next level grit will be used. The number of passes made depends on the level of sheen you want for your floor.
On average, your floor will be finished with a 1,500-grit polishing wheel. However, if you want an even higher gloss finish, your floor can be completed with upwards of a 3,000-grit polishing wheel. Once the final pass has been made, your floor is ready to be used as usual!
Finishing Up
Though concrete polishing is relatively simple and straightforward, a professional is needed to get it done correctly. In total, this is usually a four-step process that involves repairing damage and prepping the floor, rough grinding the concrete, sealing the floor, and polishing the concrete. Once the process is done, your floor is ready to use!

